

When an intranet starts to grow and there are multiple authors supporting the publishing of new content, you might want to consider setting up a page publishing workflow approval.
This built-in approval workflow in SharePoint helps ensure content is reviewed before it’s published. Instead of allowing pages to be published immediately by anyone with editing rights, it introduces a “submit for approval” step, which is a helpful way of ensuring some oversight. Pages only go live once an approver has reviewed and approved them.
Page approval workflows are great for communications teams that want to empower content authors to publish accurate, consistent content without having to set up custom or complex workflows.
Why bother adding this extra step to the process? Publishing workflows help intranet teams:
- Ensure a higher level of quality of their content. Approvals make it easy to have a fresh set of eyes to catch typos, inconsistencies or errors before content goes live.
- Help engage the right people to review content that might be sensitive or fall into a category of regulated content.
- Plan content in advance and publish automatically once approved.
- Keep a clear record of who approved what and when.
In this post, we’ll walk you through this SharePoint feature and share our tips for using it effectively.
How it works
This feature is powered by Power Automate and integrates not only with SharePoint, but with Microsoft Teams and Outlook as well. It’s designed to support communication sites and modern team sites, especially those with a broad audience or high visibility.
You can set up the workflow in minutes without the support of a developer by using the out-of-the-box SharePoint configuration panel on the right-hand side, without having to enter Power Automate.
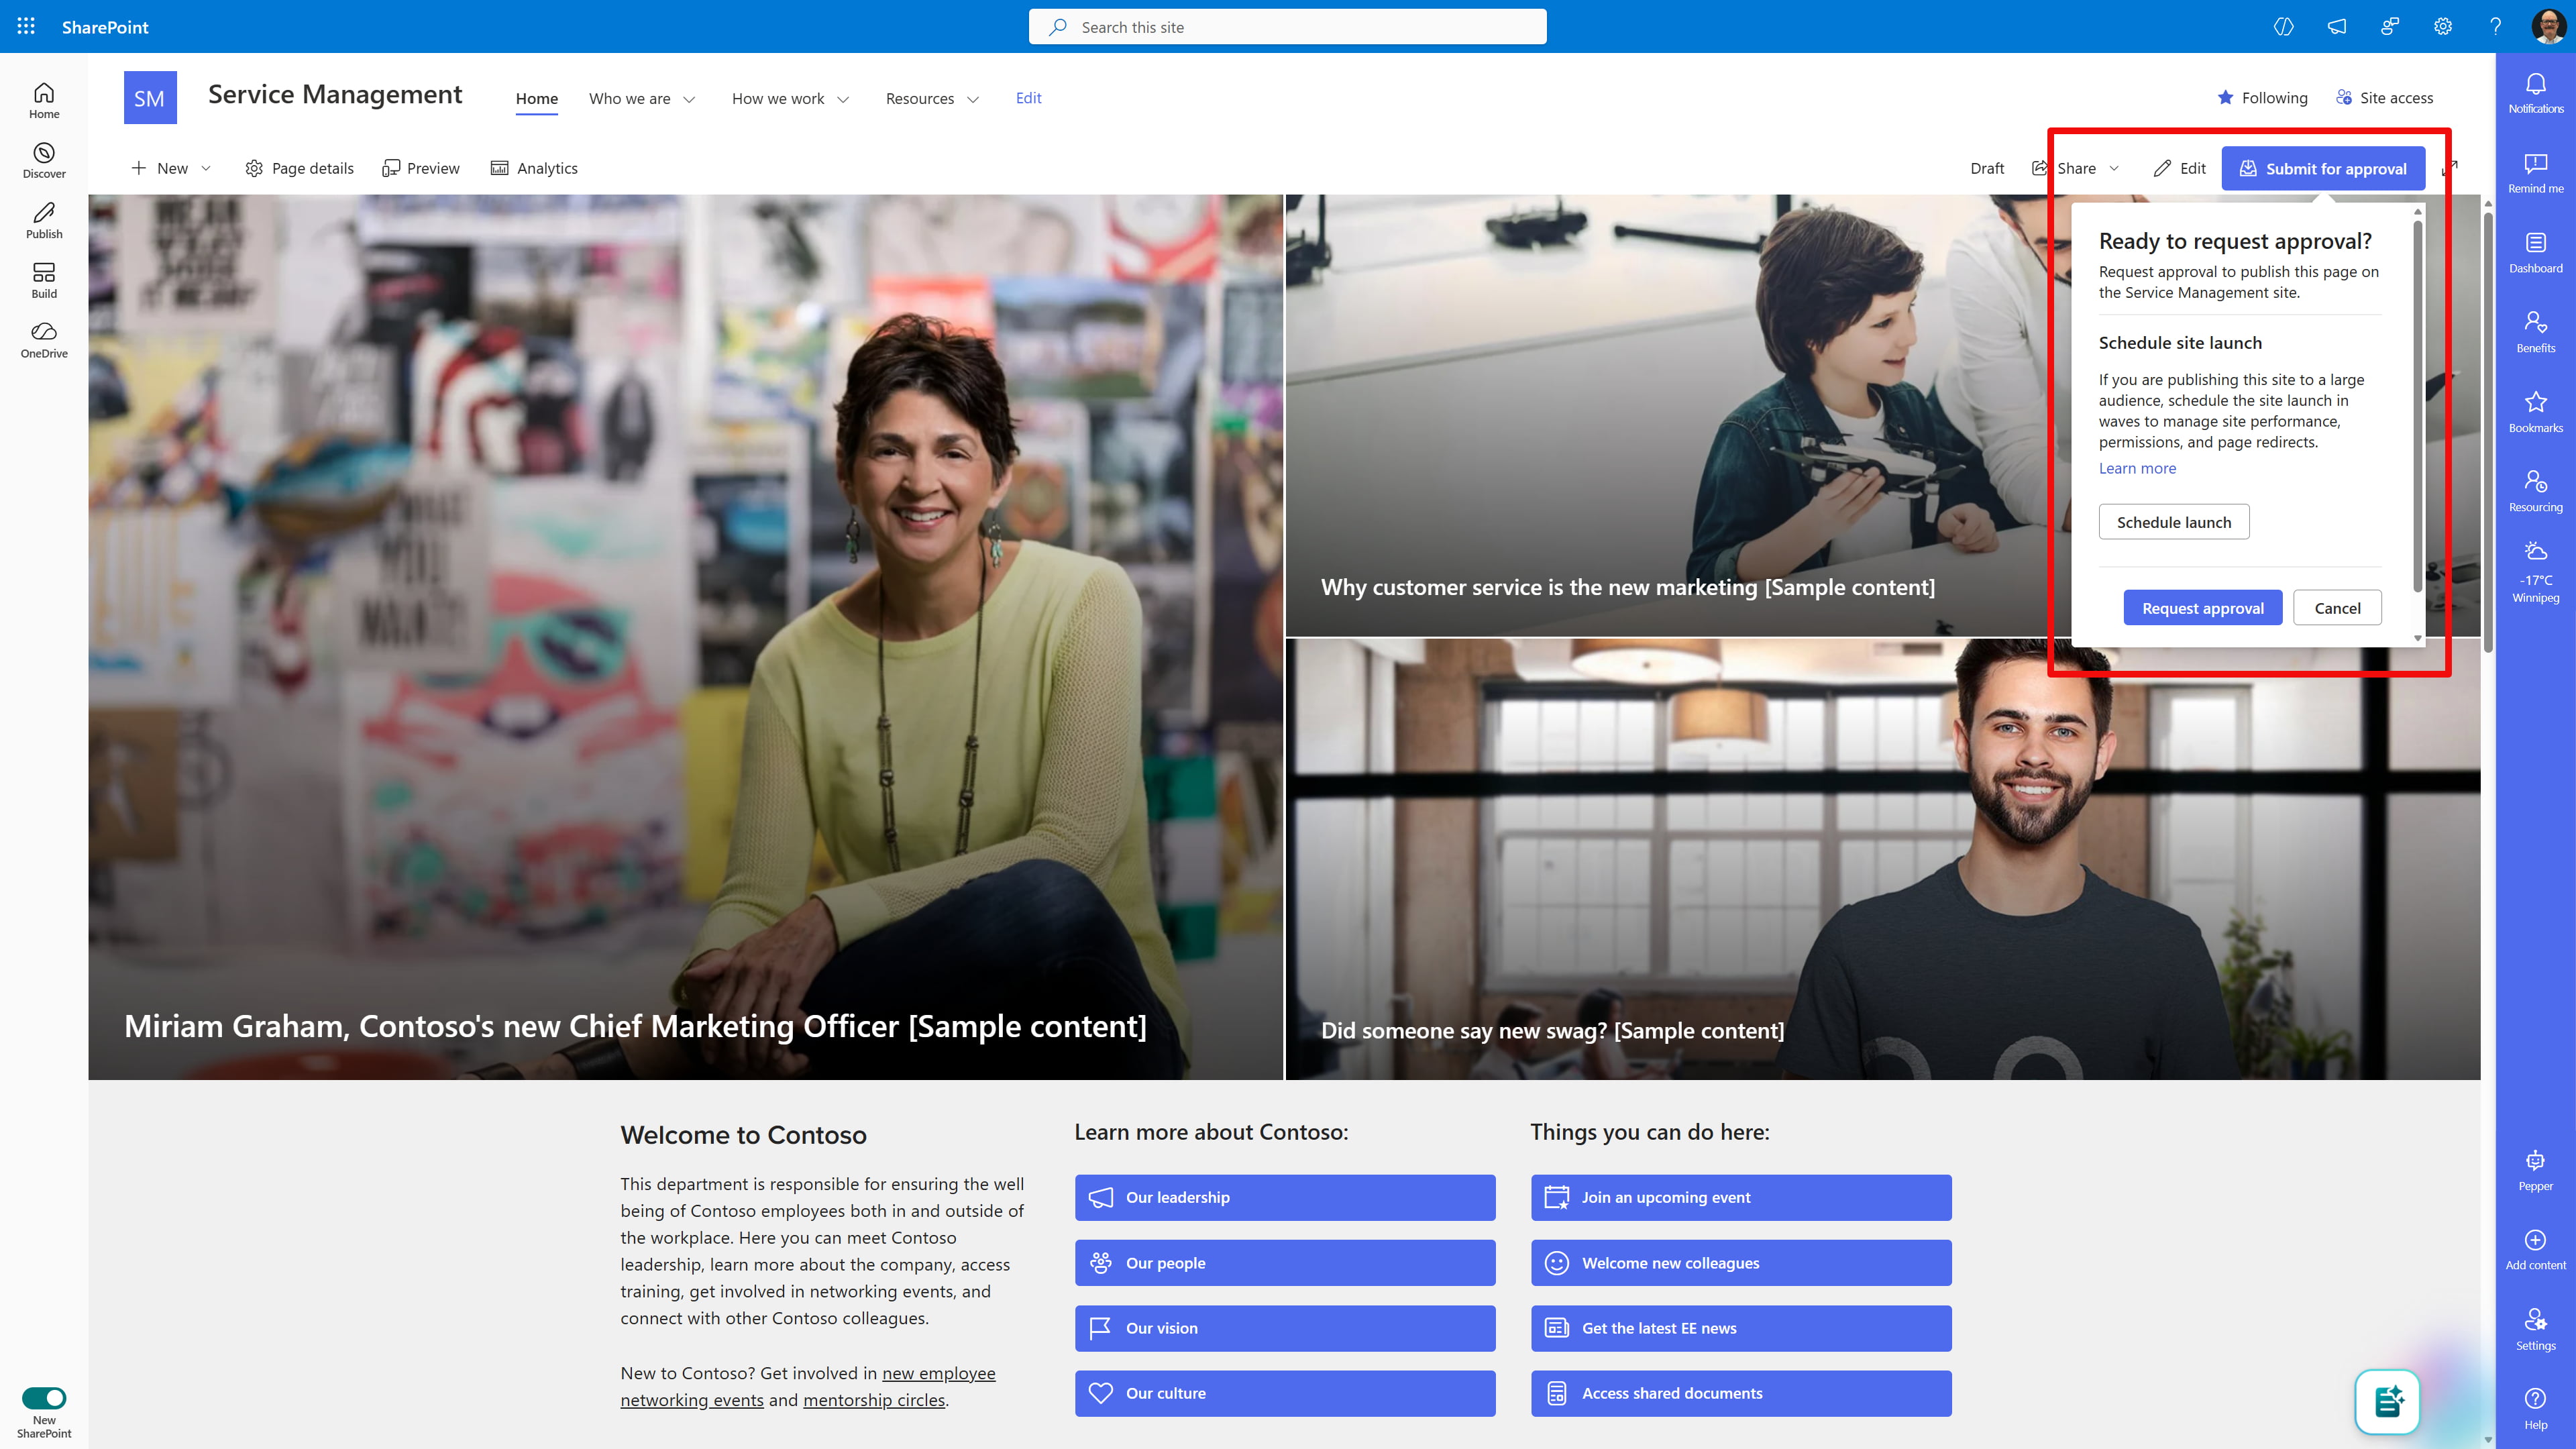
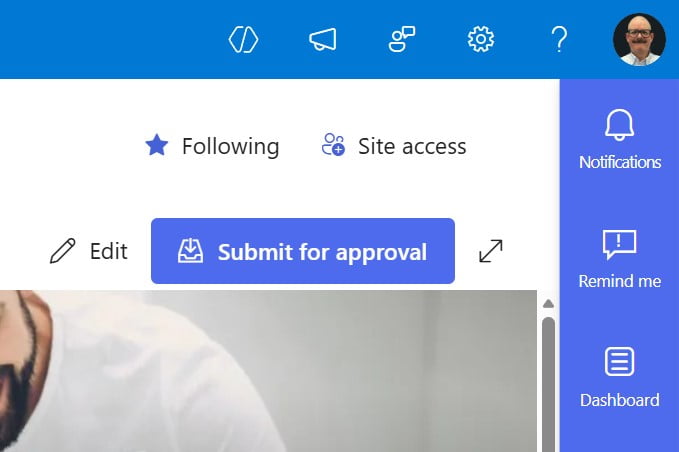
Once enabled, the workflow changes the publishing experience for content authors. Instead of a “Publish” button, they’ll see “Submit for approval.” A typical workflow consists of these steps:
Step 1: Submit a page
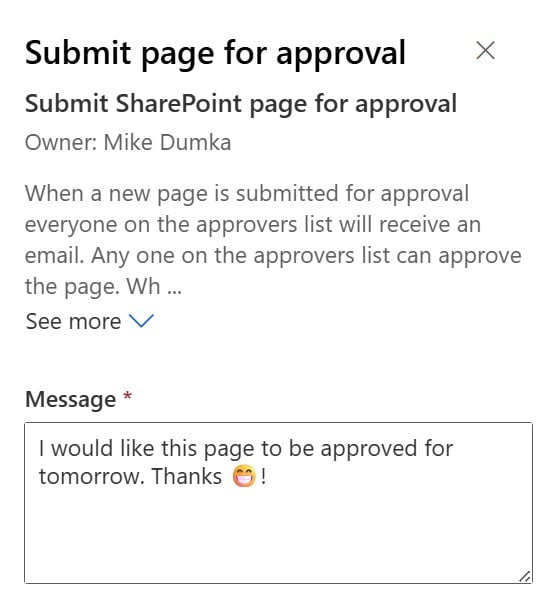
The author submits the page and can include a message for the approver.
Step 2: Notification
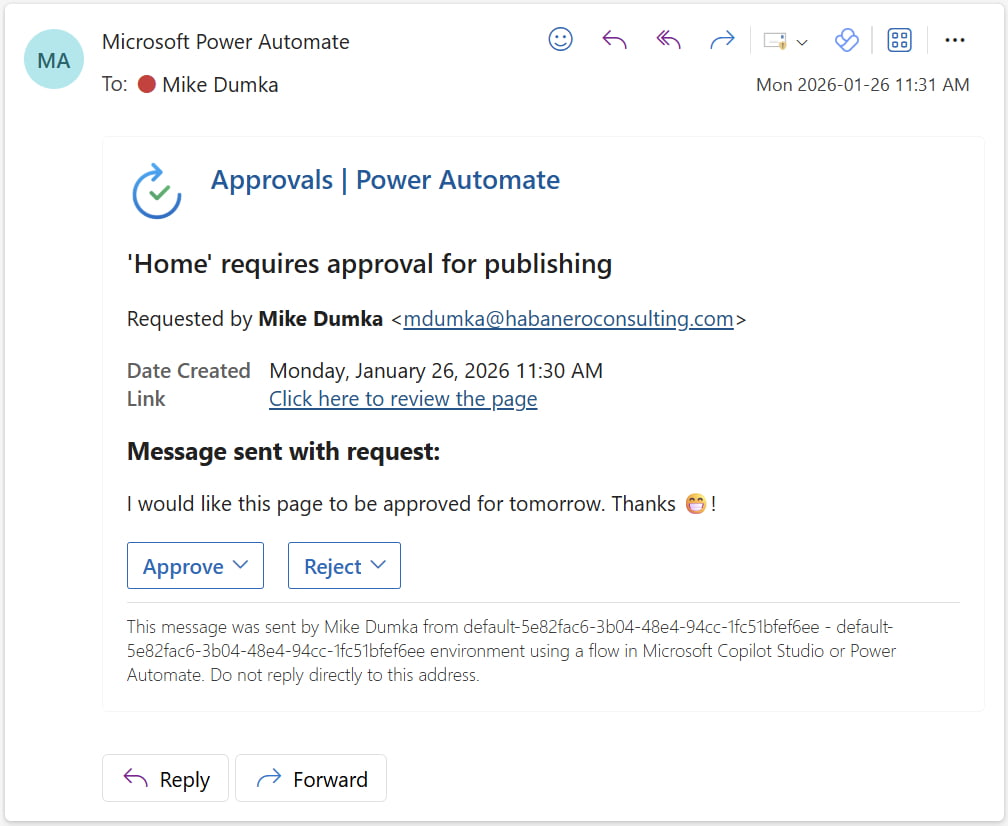
Approvers receive an email and/or Microsoft Teams notification with a link to the page.
Step 3: Review
Approvers can approve or reject the page directly from the notification or within SharePoint. Drafts, pending approvals and published versions can now all be tracked in the Site Pages library.
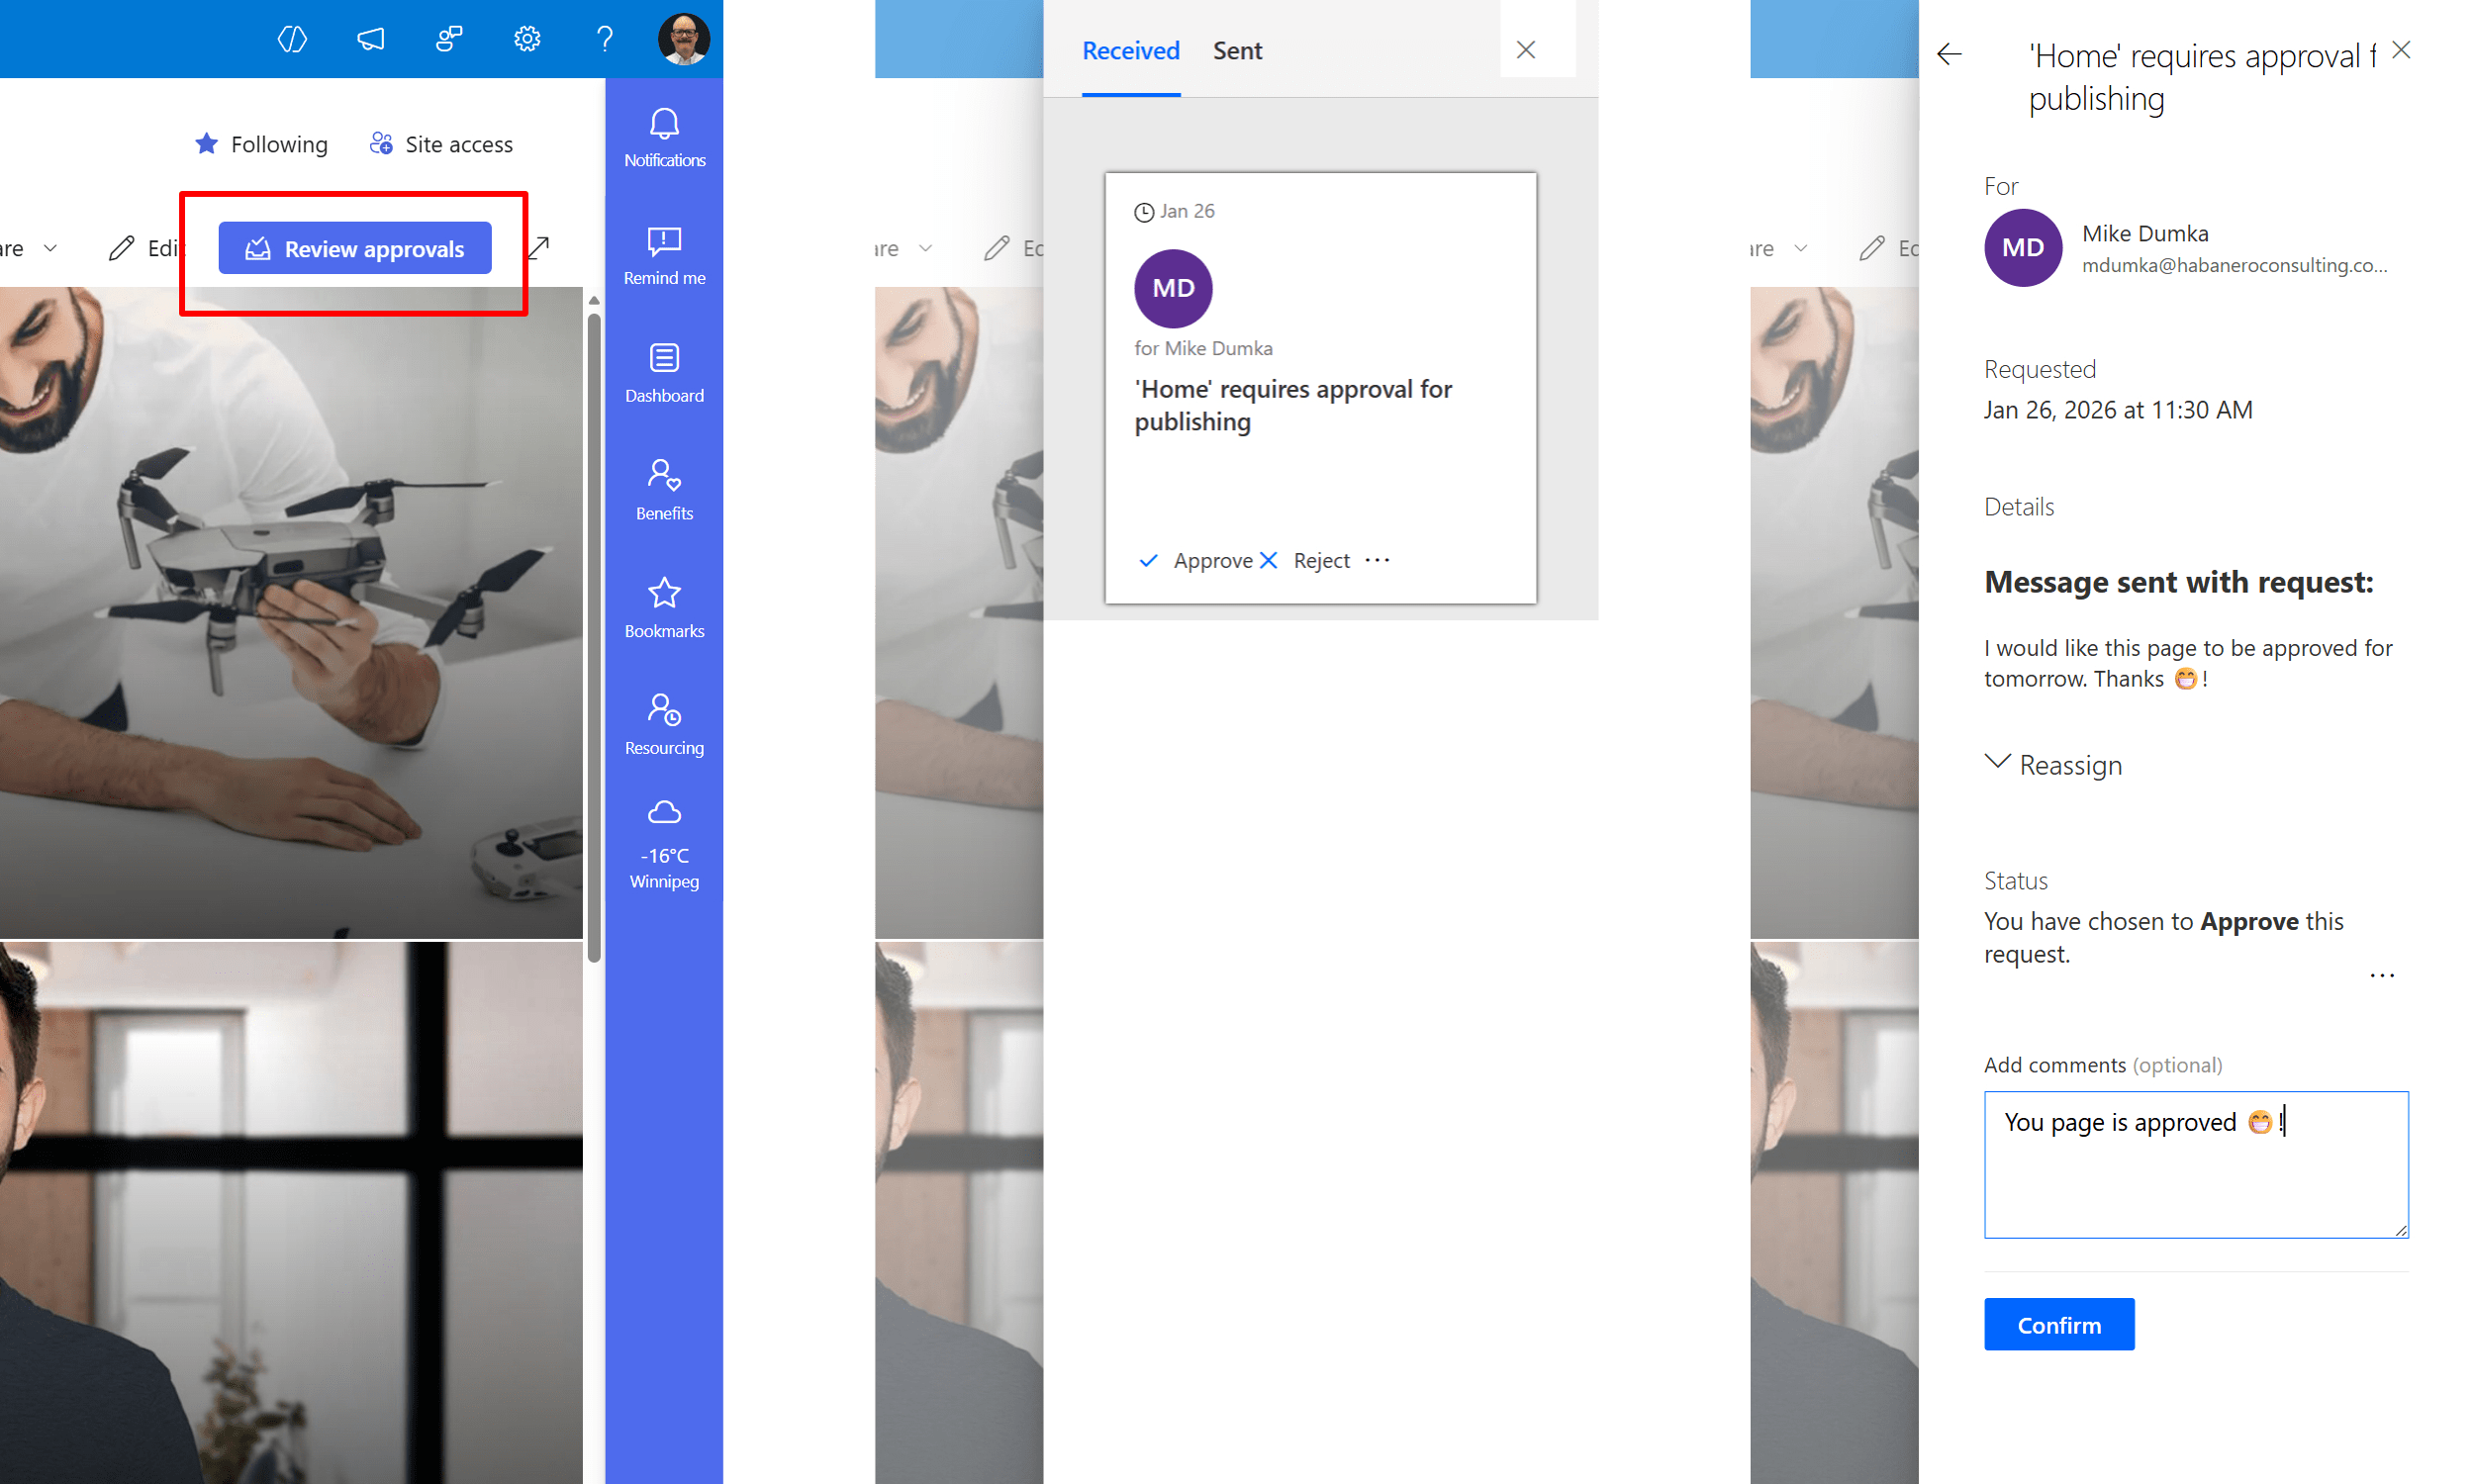
Step 4: Publication
Approved pages go live. Rejected pages return to draft status for revision. All approvals and comments are logged for compliance and transparency. This functionality is key in organizations where compliance or risk is a consideration.
How to set up page approval flow for your intranet
To set up a page approval flow, you need to follow these simple steps:
1. Navigate to the site pages library where you want to add the page approval workflow.
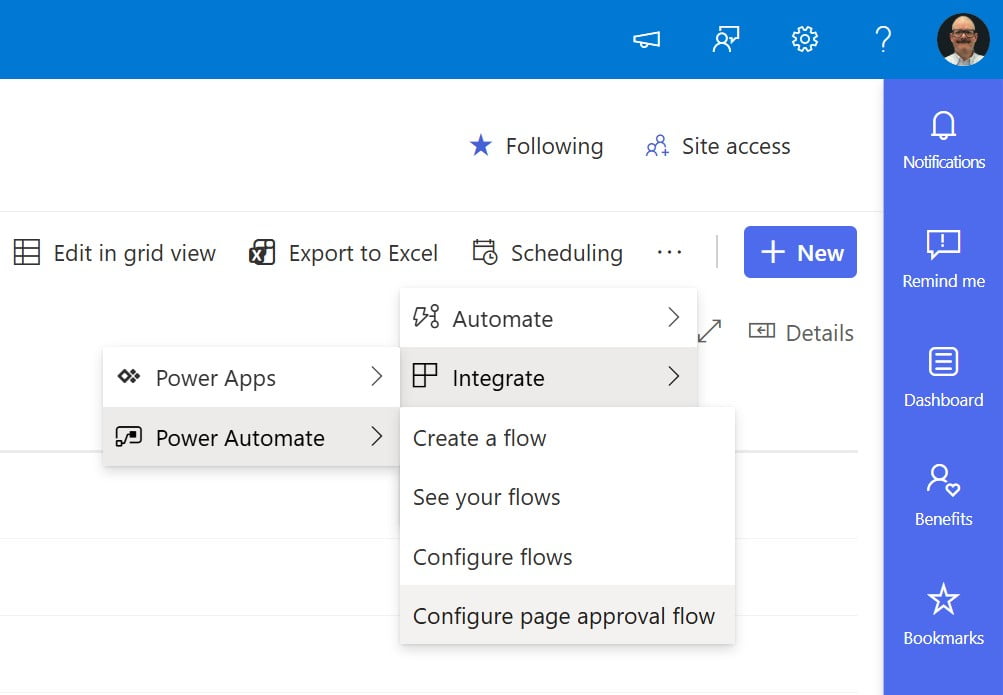
2. Select from the navigation options the Integrate dropdown and choose Power Automate and then “Configure page approval workflow.”
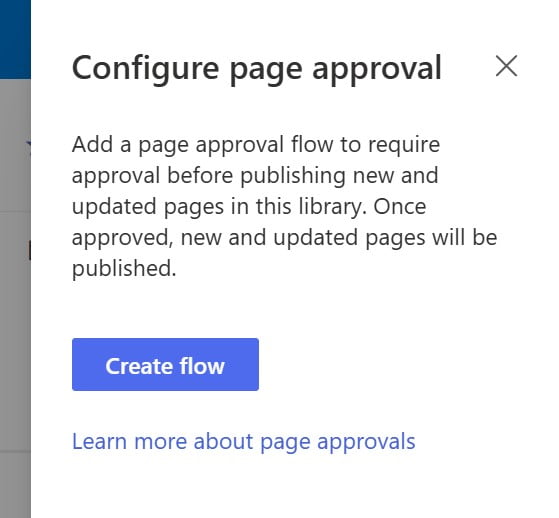
3. The Power Automate side panel will open asking you to configure the page approval and create the flow.
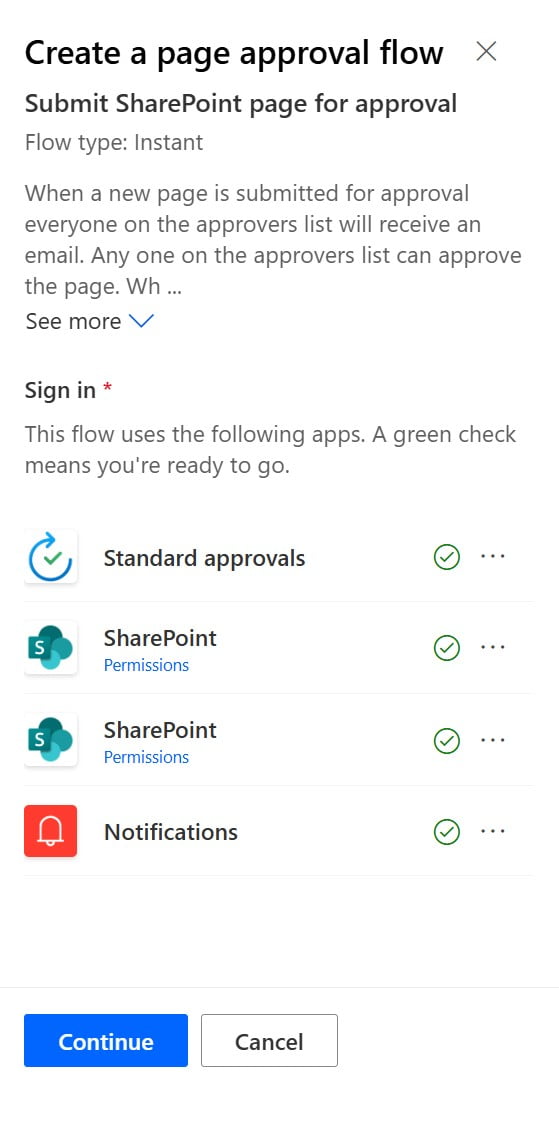
4. You will be asked to sign in and ensure a green check appears next to the associated apps.
5. Give the flow a name (e.g., “Page approvals”) and set up people to be approvers.
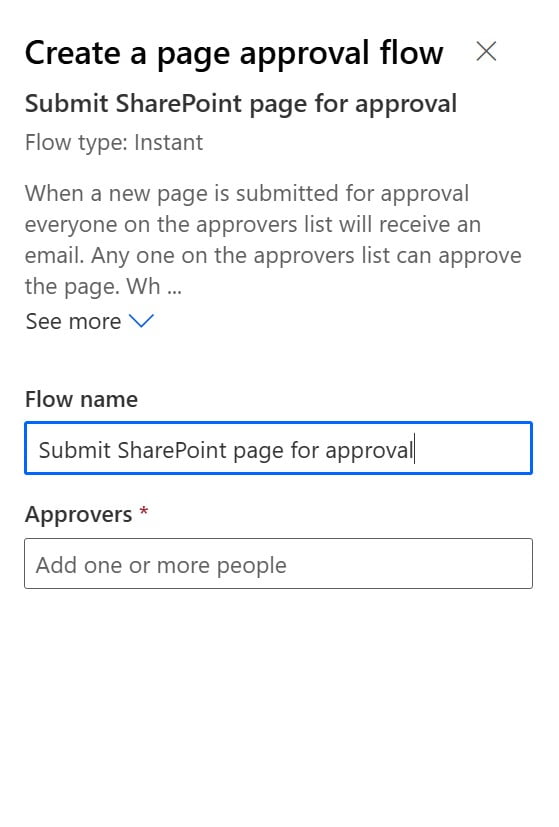
6. When you create the new flow, you’ll see this confirmation message which means the flow has been created and applied to the SharePoint Page library.

When a new page is submitted for approval, everyone on the approvers list will receive an email. Approvers can review the new content and then approve the page. When approved, the page will be published for all readers, and the approval status of the page will be set to “Approved”.
One limitation to be aware of is that the Page approval flow is tied to a single Site pages library. That means you might have lots of manual setup to do if you want to create approval flows for different parts of your intranet.
Advanced workflows
If you want to go beyond the basics, here are a few ways to customize your workflow:
- Add escalation logic – Use Power Automate to send reminders or escalate approvals if no action is taken within a set timeframe.
- Multi-step approvals – If you have multiple steps in an approval process that need to be completed in a specific order.
- Track metrics – Log approval times and rejection rates to identify bottlenecks or training needs.
- Improve transparency – Send status updates to stakeholders or page authors at key stages of the workflow to keep everyone informed and reduce follow-up emails.
Our tips
We always recommend you keep it simple at first. Identify content where accuracy and visibility matter most and start with a single stage approval; you can always add complexity later.
Make sure authors and approvers understand the new process and their roles. Approvers will have to be responsive to review requests to avoid publishing delays. When you’re just getting started, keep an eye out for bottlenecks, missed approvals or outdated workflows and adjust your approach. It’s also smart to create a backup plan for urgent content or when approvers are unavailable.
Supporting your digital workplace strategy
As you modernize your intranet or communication sites, consider where a publishing workflow can help you deliver more consistent, credible and coordinated content. With the right setup, it can support your digital workplace strategy.
If you need some help configuring approvals in your intranet, or have questions, don’t hesitate to reach out. We love talking about all things related to SharePoint and workflows!
FAQs:
Who can see pages when they have not yet been approved?
Only the author, Site Owner and approvers will see pages in the Page library. End users will not see pages when the status is still set to "pending."
Who can create a Page approval workflow?
A SharePoint Site Owner or Site Admin can turn on the page approval feature for the page library and once configured, anyone who can create a page can submit new content for approval.
Can you set up “one” Page approval workflow that works for all pages and sites of your intranet?
In order to create one standard intranet-wide workflow, you would need to consider some advanced configuration or customizations. We’ve created a custom workflow solution using Power Automate and connected it to the out-of-the-box site page approval workflow feature as a Child workflow which then allows you to manage the workflow once and have it consistently attached to multiple page libraries.


