

To make this a bit more interesting I would like my auto incrementing column to be prefixed with specific text. Something like TASK_000001, TASK_000002, TASK_000003, etc.
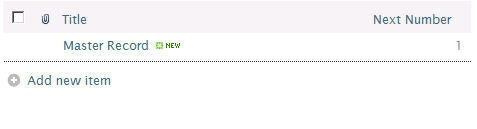
All you need is a supporting list that tracks the next number to use. This list will have one item in it that holds the next number value. My list is called Master list and 1 column has been created to store the next number.

Add your master record to it and set the default number to 1.
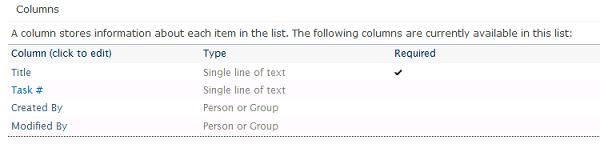
Create your second list/ document library where you need the auto increment functionality. In this list the auto increment column is called Task # and is a Single line of text :
We are now ready to create the workflow to implement the auto incrementing functionality that we want. In summary this is the workflow we are creating:
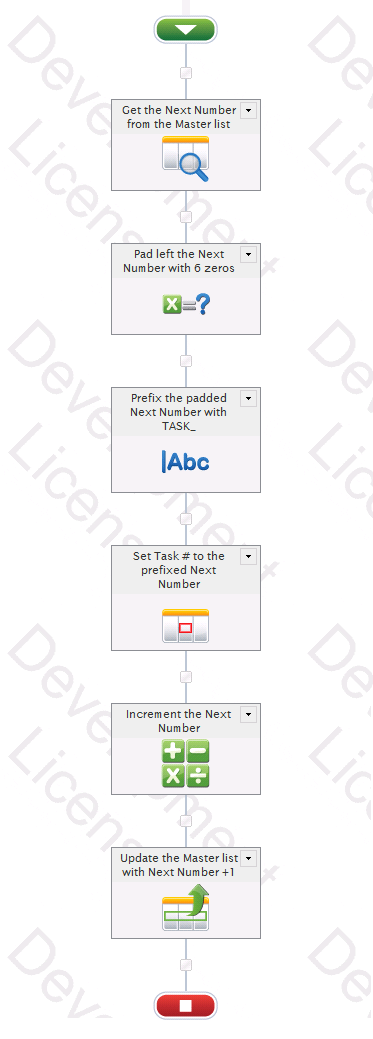
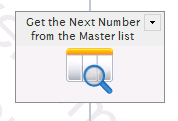
Getting into the details, first we get the next number from the Master list.
We store the value of the next number in a number variable called nextNumber.
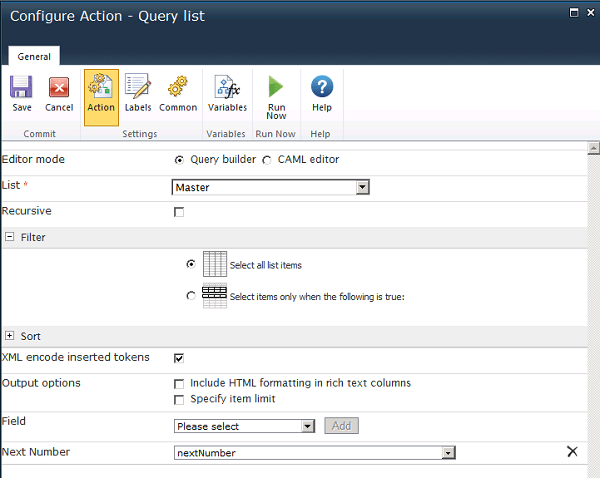
In this case even though we specify Select all list items we only have one item in the Master list (if there were more it would just select the first value).
Next we pad left with zeros so our number format is now 000001.
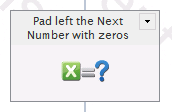
With the inline function fn-PadLeft( nextNumber ,6,0) and the result is stored in a Single line of text variable called prefixedNextNumber.

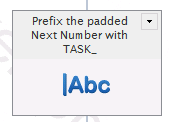
Using a String Builder function a prefix can be added so the task# format is now TASK_0000001
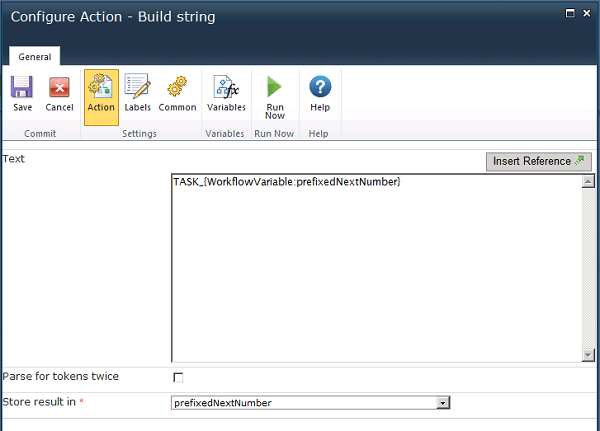
Using: TASK_{WorkflowVariable:prefixedNextNumber} and we overwrite the prefixedNextNumber variable with the new value.
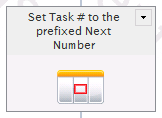
The column Task # is updated with the new auto incremented number.

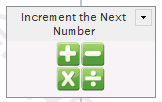
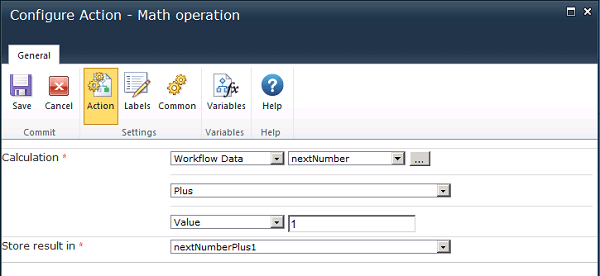
Once we set the column value we now need to update the master list to the new value. So we first calculate the next value, i.e., Next Number + 1.
We store the new Next Number in a new Number variable called nextNumberPlus.
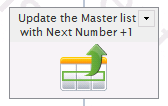
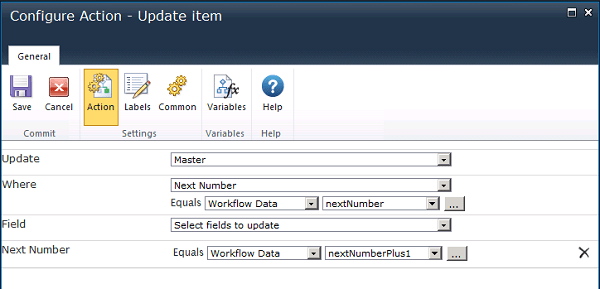
Now we are ready to update our Master list with the new value:
After publishing and saving our workflow we are now ready to test.
Adding a new item to our list we see this is working:

Adding another item to the list:

Checking the Master list:

Having this Master list makes it very easy to reset this number back to 1 when we have finished our testing and are ready to use this in production.
Creating an auto incrementing list with a specific format is very easy to do in Nintex Workflows. This is very useful in a ticket tracking scenario where a reference number needs to be created as soon as an item is added to a list or document library.


