

Have you ever wished you could store images in a managed site collection, and be able to rollup those images automatically based on some tags you have already applied to the individual images? SharePoint 2013 makes that pretty simple through the use of the new search engine and the Pictures Web Part. SharePoint Search is not only for finding what you need in an ad-hoc basis (like by supplying a keyword to the search page), it can also be used as a data retrieval mechanism. Let's take a look at how images can easily be rolled up using the out-of-the-box SharePoint 2013 building blocks.
First, let's create a site collection to hold our images. We'll use a team site in a new site collection for this purpose.
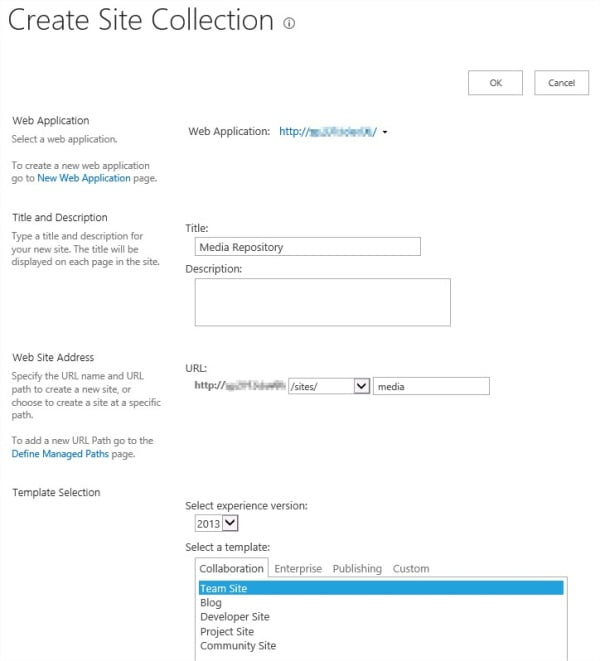
SharePoint 2013 Search can index and retrieve information from different site collections. This is part of what we will see below.
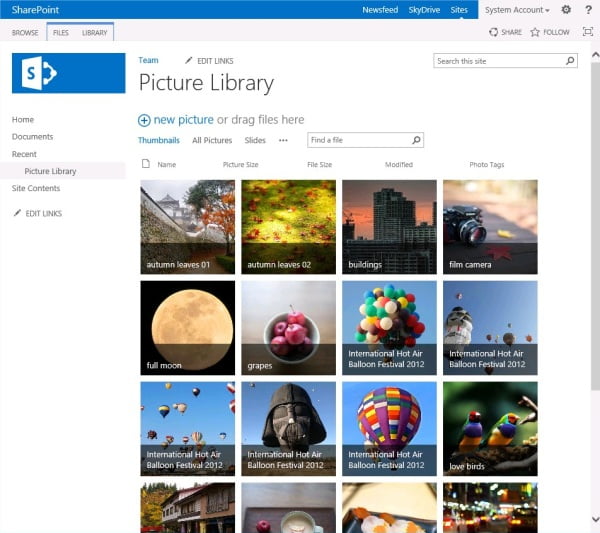
Next, we will create a Picture Library in the newly created team site, and add some photos to it.
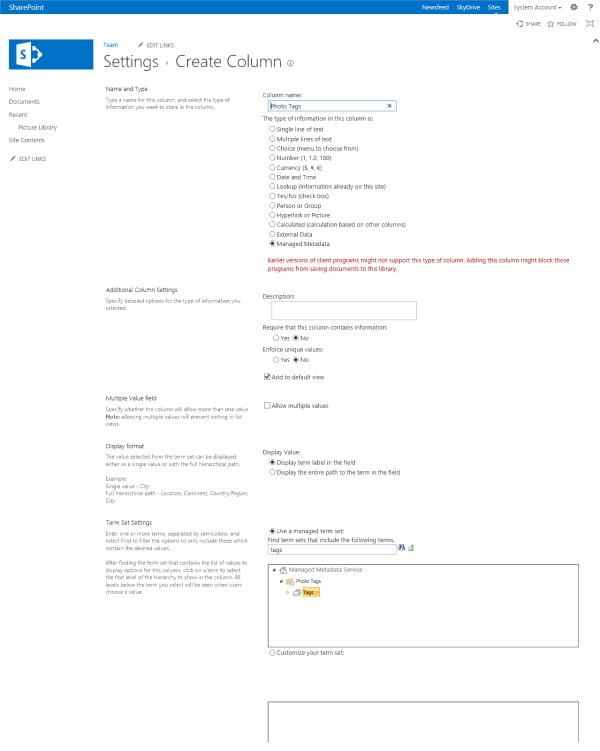
In order for search to find and filter on these images, we need to tag them. For Search to work with a tag, it has to be a column of managed metadata from the term store. So let's head over to the term store and create a new term set for these photos.
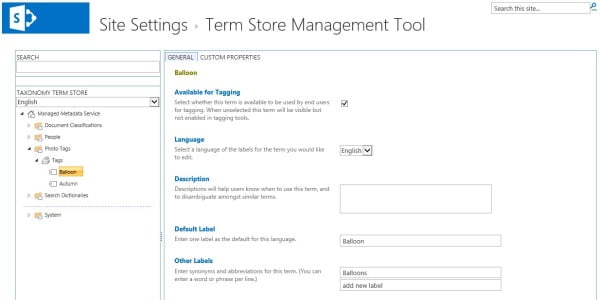
Here I created a term set "Tags" a couple of terms "Balloon" and "Autumn" for our example. We are ready to add this to our Picture Library.
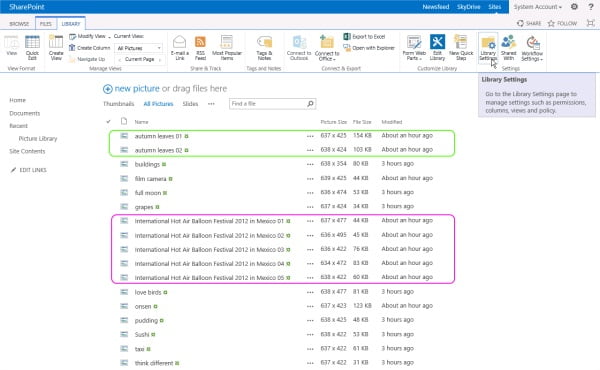
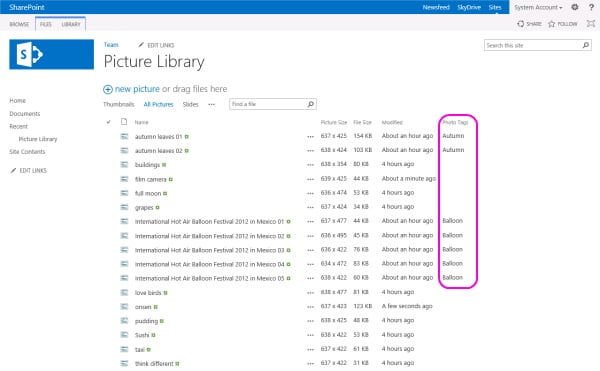
In the Picture Library, I actually want to tag the photos circled in green with "Autumn" and the photos circled in pink with "Balloon". So we need to add a column to this Picture Library using the new term set we just added.
Once added to the Picture Library, we can then tag the photos with the desired tags. To illustrate what has been tagged, I added the new column to All Pictures view.
All the data is ready, let's try to use these images in a Publishing site that is located in a different Site Collection. I created a new publishing page called Autumn and is ready to add an out-of-the-box Pictures web part to the rich content. The Pictures Web Part can be found under the Search-Driven Content category.
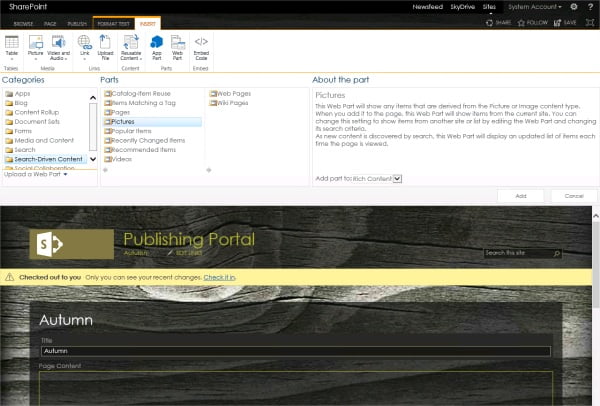
After inserting it, let's modify its properties.

In particular, click on the Change Query button in the Web Part Properties pane. This will launch the Query Builder that allows you to create a custom query for use with SharePoint Search.
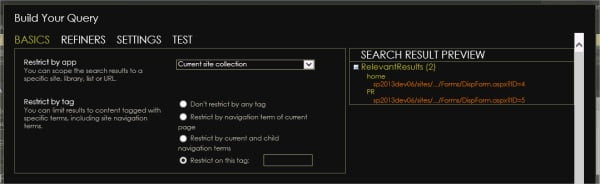
By default, the "Restrict by app" configuration is set to "Current site collection". We will change it to "Specify a URL" and pass in the URL of the site collection that contains our Picture Library. Once you change a setting, the Search Result Preview will be refreshed dynamically to reflect the changes.
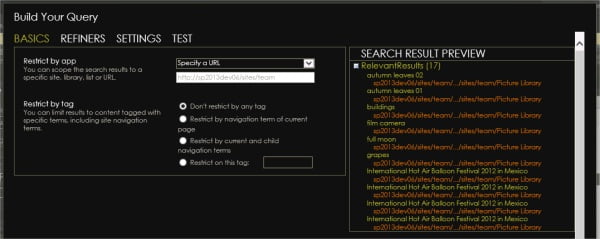
By not restricting using a tag, all the images will be returned. So here we will change the "Restrict by tag" option to have the value of "Autumn".
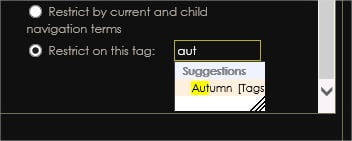
The termset picker has auto suggestion while you type to help locate the terms easily. Once the term is selected, the Search Result Preview will be refreshed.
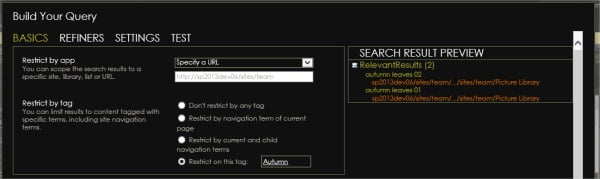
When everything looks right, click OK to exit the Query Builder and click OK to save the Web Part Properties. Publish the page and you will see the images added to the other site collection rolling up to the Pictures web part added to this publishing page.
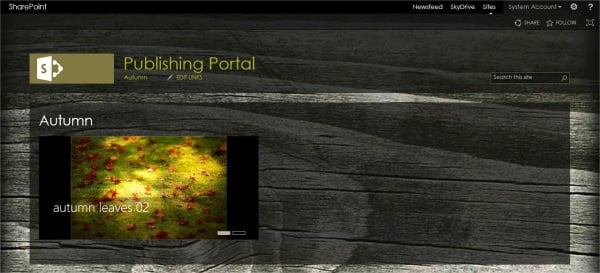
Using this technique, you can create some pretty engaging content with only the out-of-the-box functionality of SharePoint.


