

This post will look at how to set up delegation in Nintex based on a hypothetical scenario that is similar to the situations we see in our clients’ organizations and our own.
The scenario
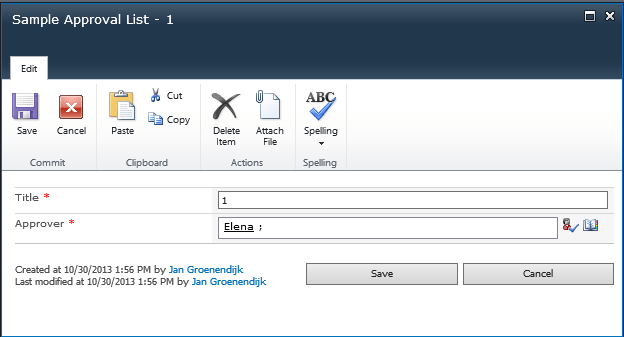
Let’s say I want to have an expense document library. I want employees to be able to submit expense requests and certain individuals to be able to approve the expense.
First, I want to lock down the permissions on the library so that only approvers have the ability to see and edit my expense. I also want to give a system administrator the ability to reassign the delegate task in the event it was assigned incorrectly to an approver or if the approver is unavailable. I do not want to give the ability to reassign tasks to the approver. I also want to lock down the expense to read only after the approver approves the expense.
The workflow runs under the context of the person who initiated it. This means if I submit an expense, the workflow runs as me. If I have a status column on the document library that needs updating I have to make sure that I have the permission to make the change.
You can get around this if you have a Nintex service account and update the document property via a web service call, or lock down the permission to read as the final step in the workflow. For simplicity, I have not considered this in this scenario.
In our scenario, I have only included the submitter and the approver, but expense document libraries are usually also open to accountants and other stakeholders. I have also created a workflow on a list and not document library.
Setting up and using the workflow
My workflow is very basic and executes every time a new item is added to the list. As I said before, the first thing to do is assign a task to an approver and lock down permissions.
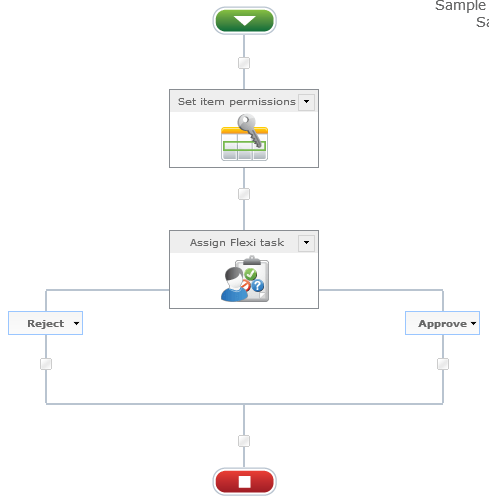
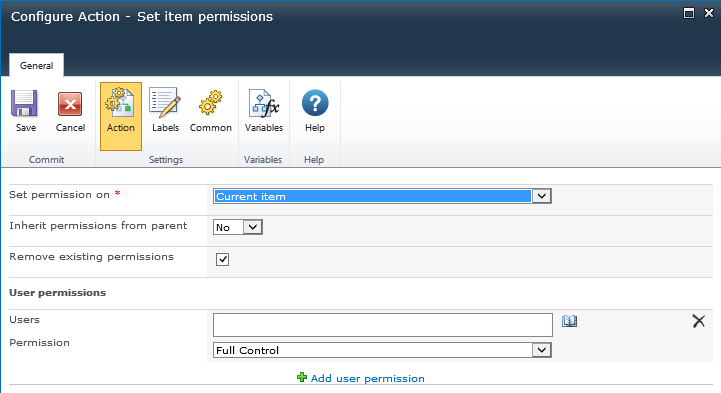
I lock down the permission by removing everyone’s access:
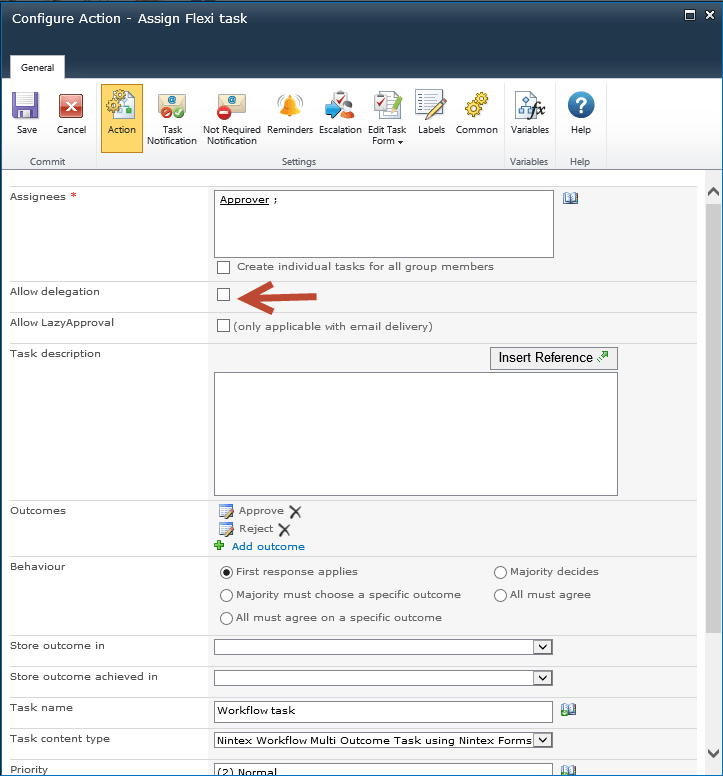
In my task, I have the Allow delegation option turned off. Note that the Assignee is the Approver which is a list property. If the Allow delegation option was enabled this option would show up for all approvers.
In my task, I also changed the permissions so that the person assigned to the current task has contribute permissions. After the task is completed, it will change to “read.”

This behavior is similar for a SharePoint out-of-the-box task form versus a Nintex form so I will use the out-of-the-box form as an example to add a new item to the list.
If an employee has contribute permissions to the workflow task list and this is the workflow task form they will see.
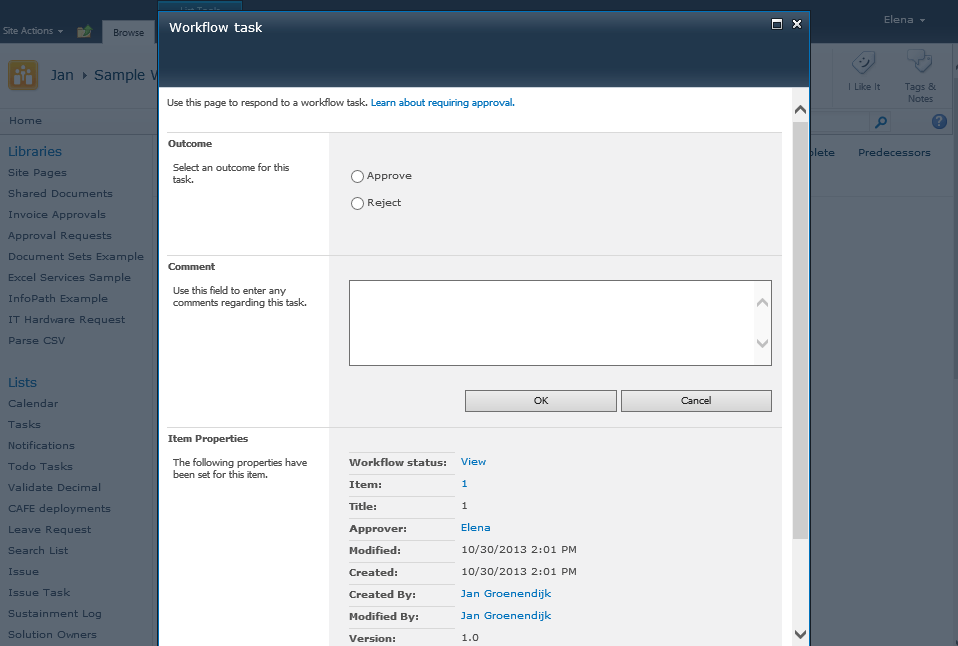
The employee will also be able to see other people’s tasks in the list, but will not have access to them.

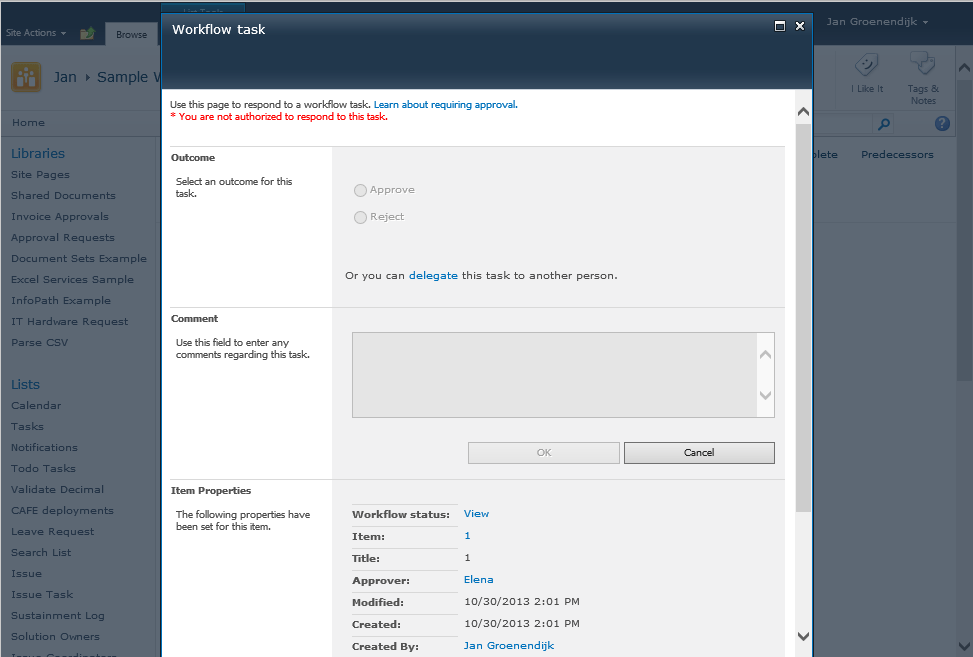
Notice the site owner can delegate the task.
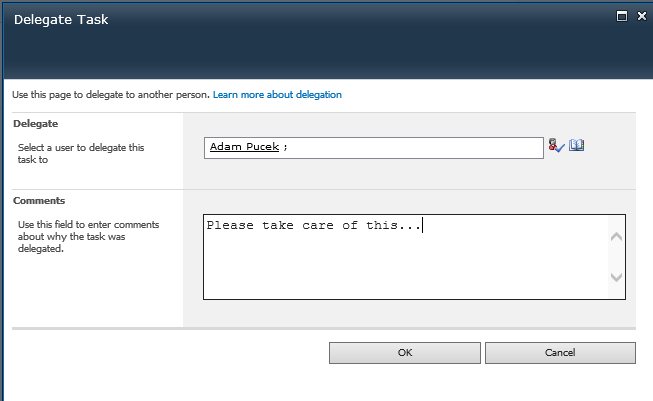
Check to make sure the workflow task list gets updated correctly.

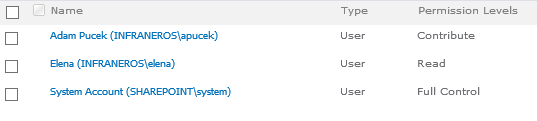
The permissions on the original list item are also updated correctly. The employee now has read access as we delegated her task and the approver has contribute access.
An email gets sent to the approver that looks like this:
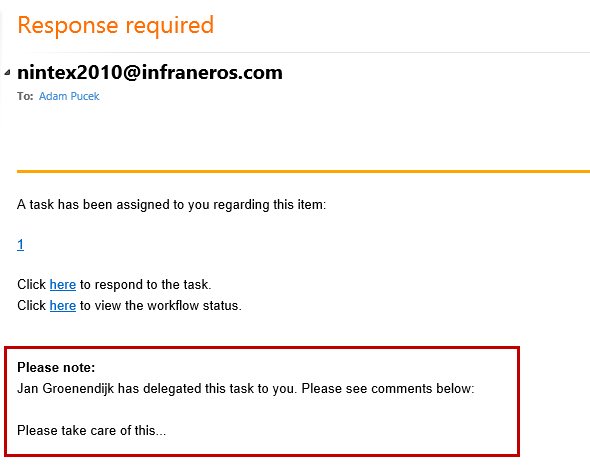
The content highlighted in the red border is what the workflow will create. There is no option to customize this. Only the approver has access now, and the person submitting the request is unable to edit the request anymore.
In the workflow history this change is captured:
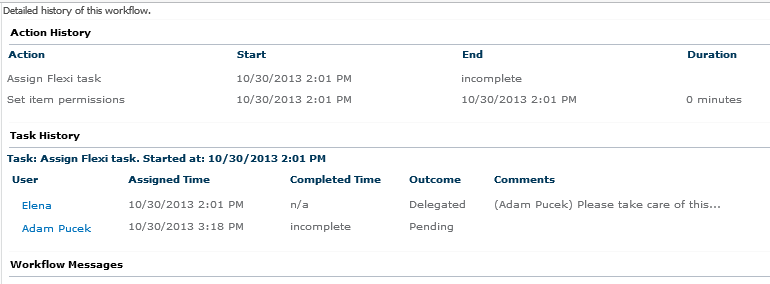
What is hard to determine is who did the delegation. In the above scenario there is no easy way to tell that another person did the delegation. If this was important to your organization, a new multi-text column could be created on the list so that the workflow writes a change log. You would have to create a new workflow on the task list that runs if the “Assigned To” field is modified. If this is the case, look up the original list item the task refers to and update the change log column with who modified the task list.
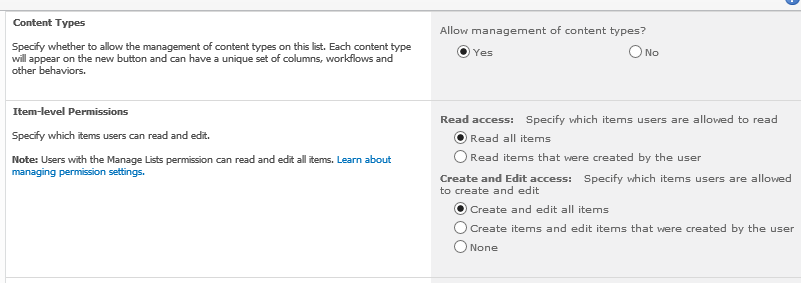
As a side note under the advanced settings of the workflow task lists you can configure the following options, but it’s a good idea to leave them as the default. Since the workflow is creating the tasks, the created by the user options do not make sense.
So, there you have it. Setting up delegations in Nintex is that simple.
If you have any questions about using this type of solution in your organization, don’t hesitate to contact me!


